Picture framing is both a technical process and an artistic endeavour, allowing you to transform your photos, artwork and memorabilia into beautifully displayed framed pieces. Whether you're considering DIY framing or exploring the benefits of custom framing, understanding the fundamentals of how to frame a picture can help you make the best choice for your treasured items.
Why Picture Framing Matters
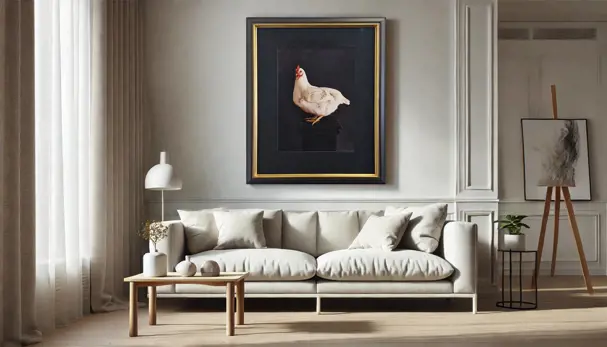
A well-framed item enhances the piece, complements your interior decor and protects the item from damage. Professional picture framing ensures longevity by using high-quality materials that prevent fading, yellowing and deterioration over time.
While DIY framing is an option, professional framers offer expertise, precision and have access to specialist equipment and premium materials that the DIYer doesn’t have. Whether you're framing family photos, original artwork or valuable memorabilia, the right frame can make all the difference in both appearance and longevity.
How to Frame a Picture Step-By-Step
If you've ever wanted to know how to frame a picture, here’s a step-by-step guide to help you understand the process:
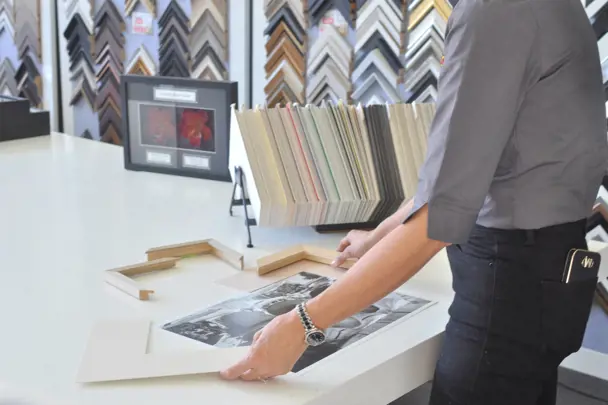
1. Choose Your Frame Style
Frames come in a variety of materials, including wood, metal and composite options. Your choice should consider the style of the artwork, the surrounding decor and the desired level of durability.
- Wood frames – classic and warm, ideal for traditional or rustic aesthetics.
- Metal frames – sleek and modern, perfect for cheaper contemporary pieces.
- Ornate frames – elegant and decorative, suitable for vintage or formal settings.

We believe that for most customers wooden picture frames are the best option because they are cost effective, durable and available in a huge range of sizes, colours and styles.
2. Select the Right Mat Board
A mat board adds depth and visual separation between the artwork and the frame. It also protects the piece from direct contact with the glass, preventing moisture buildup.
- Single mat – a clean and simple look.
- Double mat – adds dimension and contrast.
- Acid-free mat – prevents discoloration and deterioration over time.

3. Choose the Right Glass or Acrylic
The glazing protects your picture from dust, dirt and UV damage. Options include:
- Clear glass – affordable and clear but prone to glare.
- Non-glare glass – reduces reflections and ideal for well-lit areas.
- UV Glass – prevents fading and extends the life of the artwork by eliminating or reducing harmful UV light.
- Acrylic (Perspex) – lightweight and shatter-resistant making it idea for large frames or high-risk areas.

4. Mounting the Artwork
The mounting method depends on the value and type of the artwork.
- Hinge mounting – using archival tape to attach artwork to the mat board or backing board without damaging the art.
- Dry mounting – A permanent adhesive backing that prevents wrinkles and is ideal for digital photos and posters but is not suitable for valuable pieces.
- Floating mounting – creates a raised 3-D effect which is great for textured or torn-edge artwork.

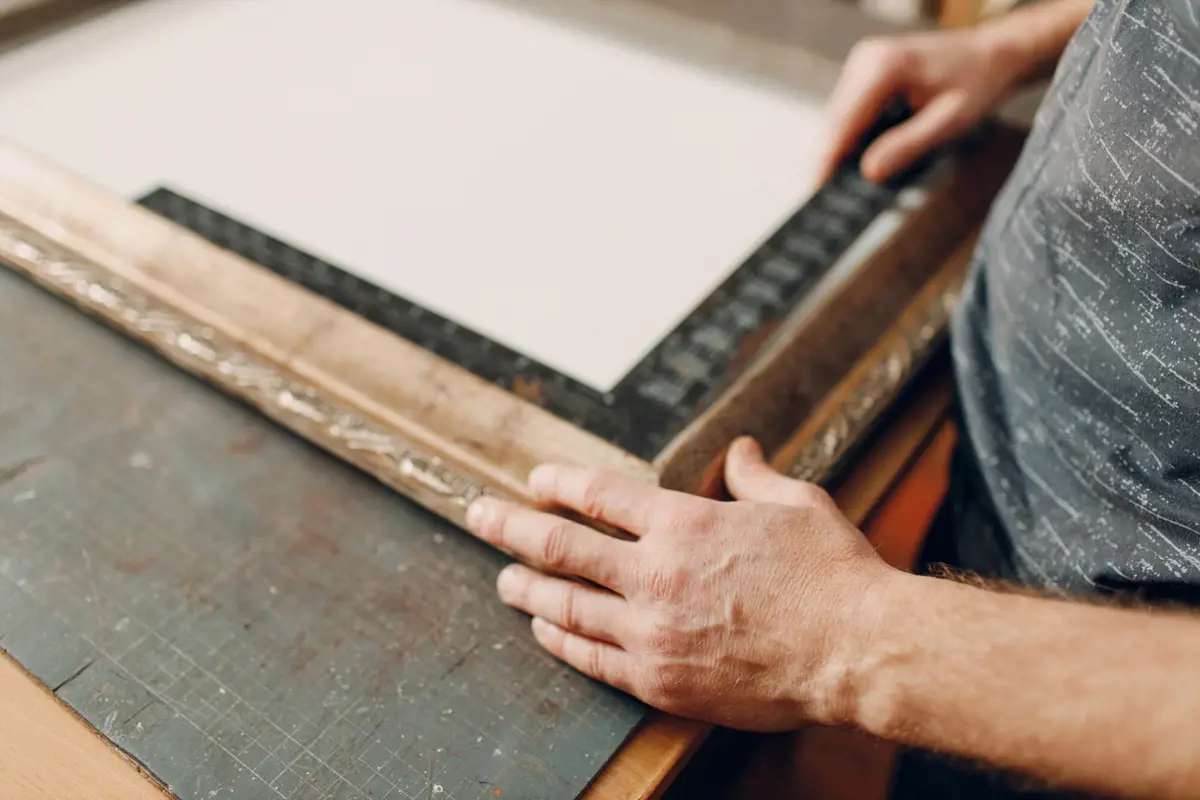
5. Assemble and Secure the Frame
After placing the artwork, mat and glass into the frame, secure the backing board in place with small tacks or staples. Our professional framers use high-quality framing points and sealing tape to ensure stability and protection.

6. Add Hanging Hardware
Depending on the weight and size of your frame, choose appropriate hanging hardware:
- Sawtooth hangers – good for small, lightweight frames.
- D-Rings and wire or string – preferred for most frames, especially larger, heavier frames to ensure even weight distribution.
- Security hangers – ideal for high-value or public display pieces.

Why Choose Custom Framing?
While DIY framing can be rewarding, custom framing offers tailored solutions that enhance and protect your artwork. Professional framers provide:
- Expert advice and guidance on frame style, colour coordination and conservation techniques.
- High quality materials such as acid-free mats, UV-protective glass and precision cut and joined frames that ensure longevity.
- Perfect fit and finish because each frame is custom-made to complement your piece and interior design.
- Preservation techniques that protect valuable artwork, photographs and memorabilia for a lifetime.
DIY Framing vs Professional Framing
Understanding the art of picture framing allows you to make informed decisions whether you're opting for DIY framing or investing in custom framing. If price is a key factor, you have the right tools and lots of patience, then building a DIY frame can be challenging, fun and rewarding.
If, on the other hand, you want to achieve a professional look while ensuring the longevity of your cherished pieces, consulting a professional framer is the best option.
At Frame Today, our expert framers are here to help you preserve your memories with custom framing solutions tailored to your needs. Visit your nearest store to explore a wide range of framing options.