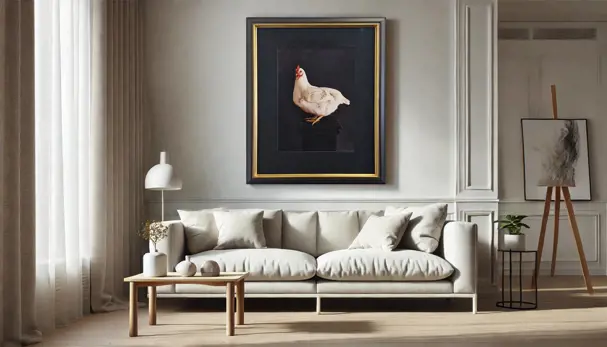
In today's digital age, preserving memories has taken on a new dimension. With the advent of digital photography, capturing and storing moments has become easier than ever. However, the art of printing and framing digital photos—transforming them into tangible, lasting masterpieces—requires careful consideration and expertise.
At Frame Today, we understand the nuances of digital printing and framing, and are here to guide you through the process. This comprehensive guide will explore the idiosyncrasies of framing digitally printed photos, from choosing the right materials to understanding the technical aspects.
Understanding the Basics of Digital Printing
Choosing the Right Digital Printer
When it comes to printing digital photos for framing, the quality of your prints is paramount. High-resolution images, vibrant colours and lasting durability are all achievable with the right digital printer. Among the various options available, we choose the Epson SureColor P5070 because it stands out as the ideal choice for professional-grade photo printing offered in all of our 14 stores. Here’s why:
- Exceptional print longevity due to the UltraChrome HDX inks which are known for their archival quality, providing prints that can last for decades without significant fading. This longevity ensures that your framed photos will remain vibrant and beautiful over time.
- Professional-grade output for both professional photographers and enthusiasts alike. The P5070 delivers gallery-quality prints that are suitable for exhibition and display. The precision and accuracy of this printer allow you to showcase your digital photos at their best.
- Ease of use of its advanced capabilities using powerful RIP software, means that our store staff can produce high-quality prints for all print and frame orders.

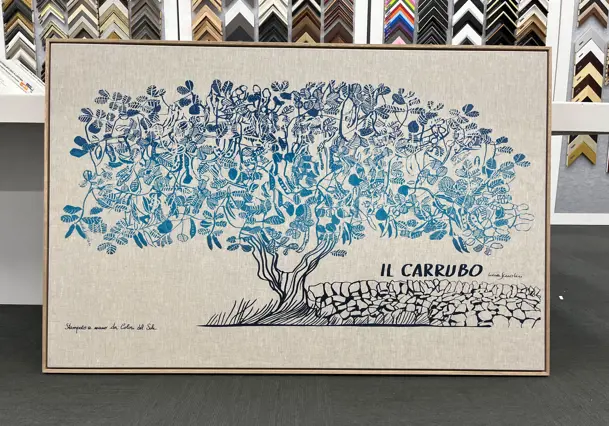
The Importance of Paper vs. Canvas
Once you have chosen a trusted printer and framer, one of the first decisions you'll need to make when printing and framing your digital photos is choosing between paper and canvas. Each option has its own unique characteristics and benefits:
- Paper prints: Paper prints are the traditional choice for photo printing. They offer a wide range of finishes, including gloss, matte and lustre. Glossy paper provides vibrant colours and sharp details, while matte finishes reduce glare and fingerprints. Lustre paper strikes a balance, offering a slight sheen without the reflections of glossy paper.
- Canvas prints: Canvas adds a textured, artistic feel to your photos. It’s a popular choice for those looking to create a gallery-like appearance. Canvas prints are durable and once stretched over a stretcher frame, can have a range of finished applied.
Exploring Paper Options
When opting for paper prints, selecting the right type of paper is crucial. Here are the most popular choices:
- Gloss paper: Ideal for high-contrast images with vivid colours. Glossy finishes enhance the photo's sharpness but can be prone to reflections and fingerprints.
- Matte paper: Best for soft, subtle images. Matte finishes reduce glare and are more resistant to fingerprints and smudges.
- Lustre paper: A middle ground between gloss and matte, offering some shine without the drawbacks of reflections and fingerprints. We recommend this lustre option for most digital prints we print and frame.
File Size and Printed Size: Understanding Pixel Scaling
Digital photos are composed of pixels and the resolution of your image determines how large it can be printed without losing quality. When framing digital photos, it’s essential to understand the relationship between file size and print size. Here’s a quick guide:
- Resolution and DPI: Dots per inch (or DPI) measures the print resolution. For high-quality prints, aim for 300 DPI. For example, an image with a resolution of 3000x2400 pixels can be printed at 10x8 inches (25x20 cm) with optimal quality.
- Upscaling and downscaling: Enlarging a low-resolution image can result in pixelation and loss of detail. Conversely, printing a high-resolution image at a small size ensures sharpness.
- Viewing distance: An often-overlooked consideration is the viewing distance of your framed digital print. If, for example, you are hanging your framed photo in a hallway and viewing is close-up, then you’ll want to ensure maximum clarity. If, on the other hand, your framed photo is a large centrepiece hanging on a distant wall, then reduced sharpness may be acceptable.
Printing Phone Photos
Many of us now use our phones camera to take photos to print. We take holiday, family and scenic photos on our iPhone, Samsung, Pixel or other Android phone so it’s important to consider the phones DPI setting. Is it capturing the required resolution suitable for printing a digital photo? You can search your phones default DPI setting and may wish to increase the DPI setting so you can print superb photos for framing.

Printing in Black and White
Black and white photography has a timeless, classic appeal. When framing digital photos in black and white, consider the following:
- Contrast and tone: Black and white images rely on contrast and tone. Ensure your image has a good range of tones from deep blacks to bright whites.
- Paper choice: Matte paper or canvas often works best for black and white photo prints, as it enhances the tonal range and reduces reflection.
Handling and Preparing Digital Prints for Framing
Proper Handling of Prints
Handling prints with care is essential to avoid damage. Here are some tips:
- Always handle prints with clean, dry hands or wear cotton gloves.
- Hold prints by the edges avoiding direct contact with the image to prevent fingerprints and smudges.
- Lay prints on a clean, flat surface to avoid bending or creasing.

De-Gassing Before Framing
De-gassing is a crucial step in preparing your prints for framing. Freshly printed images can release gases that may cause clouding or damage over time. To de-gas your prints:
- Allow printed image to sit for at least 24 hours after printing. When printing in store, we strongly recommend de-gassing before we frame your print.
- Place prints in a well-ventilated area to facilitate the release of any residual gases.
Enhancing and Protecting Your Framed Photos
UV Glazing to Minimise Fading
Exposure to light can cause your prints to fade over time. UV glazing is a protective measure that helps minimise this risk:
- UV-resistant glass: Use UV-resistant glass or acrylic to protect your prints from harmful ultraviolet rays.
- Museum glass: For the highest level of protection and clarity, consider museum-glass, which offers superior UV protection and minimal reflection.
For an overview read our framing glass blog or get an in-depth understanding of our picture framing glass options.
Using Mats or Spacers
Matboards and spacers not only enhance the visual appeal of your framed photo but also provide essential protection:
- Matboards create a border around your photo, adding depth and drawing attention to the image. They also prevent the photo from touching the glass, reducing the risk of moisture damage.
- Spacers serve a similar purpose to mats, keeping the print separated from the glass. They are particularly useful for larger frames or when you prefer a minimalist look without a matboard.

Framing digital photos is an art that combines technical knowledge with creative flair. By understanding the intricacies of materials, handling and protective measures, you can transform your digital images into stunning, long-lasting masterpieces.
At Frame Today, we are dedicated to helping you cherish your memories by providing expert guidance and high-quality printing and framing solutions. Whether you’re framing a single photo or creating a gallery wall, our team is here to ensure your digital framing experience is exceptional.
For more tips and personalised advice on framing digital photos, visit our online print and frame tool or contact your nearest store.